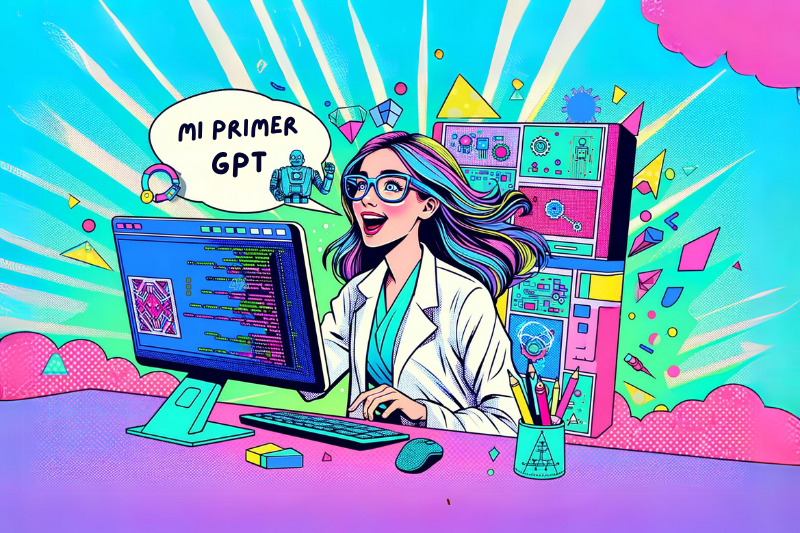
The essentials in 30 seconds
Los Custom GPTs allow you to create custom AI assistants without programming. You need ChatGPT Plus ($20/month), Team or Enterprise to create them, although free users can use shared GPTs. You can upload up to 20 knowledge files (up to 512 MB each), activate tools such as Web browsing, DALL-E and Code Interpreter, and publish your GPT in the OpenAI GPT Store. There is no limit to the number of GPTs you can create.
What is a custom GPT and what is it used for?
A custom GPT isn't just a saved prompt. It's a Persistent assistant with its own identity, knowledge base, and ability to connect to external APIs. Think of it as a digital employee that already knows exactly how to work for you before you tell it anything.
Since OpenAI launched this feature, the community has created thousands of specialised GPTs: from assistants for Prompt writing language tutors, data analysts, and productivity coaches.
Personal Assistant
Define the exact tone, style, and behaviour you want. Your GPT always responds as you need it to.
Own knowledge base
Upload up to 20 files (PDF, TXT, CSV, JSON) for your GPT to respond with specific information about your business.
Real-time web browsing
Activate web search so that your GPT can access up-to-date information when it needs it.
Image generation
With DALL-E integrated, your GPT can create custom images directly in the conversation.
Code Interpreter
Data analysis, charts, file processing: all from the chat without installing anything.
External actions and APIs
Connect your GPT to external services to perform real tasks: send emails, query databases, and more.
What ChatGPT plan do you need?
Not all plans allow you to create GPTs. Here's a quick comparison of what each one includes:
| Plan | Price | Create GPTs | Using others' GPTs |
|---|---|---|---|
| Free | $0 | ❌ No | ✅ Yes (shared via link) |
| Plus ⭐ | $20/month | Yes | ✅ Yes + GPT Store |
| Team | $25 per user per month | Yes | ✅ Yes + private workspace |
| Enterprise | Customised | Yes | ✅ Yes + admin controls |
Recommendation If you only want to try other people's GPTs, the free plan is sufficient. But if you want make your own, you need at least ChatGPT Plus.
How to create your custom GPT step-by-step
The process is simpler than it looks. Follow these steps from your account ChatGPT with GPT Builder:
- Open the GPT Builder — Go chatgpt.com, click on your name in the sidebar, select “My GPTs”, and then “Create a GPT”. You'll see a split screen: the builder on the left and a live preview on the right.
- Choose your creation method — You have two tabs: Create (conversational, you tell the builder what you want) and Set up (manual, with specific fields). For beginners, conversational mode is more intuitive.
- Name and description — Write a descriptive name and a clear explanation of what your GPT does. This helps both users and the model itself to understand its purpose.
- Write the instructions — This is the most important part. It defines how it should behave, what tone to use, what response format to give, and what it should avoid. Use positive and concrete instructions (“Do X”) instead of long lists of prohibitions.
- Upload knowledge files — If your GPT needs specific information, upload up to 20 files (PDF, TXT, DOCX, CSV, JSON). TXT files with Markdown headers perform up to 3x better than PDFs for information retrieval.
- Activate capabilities — Choose between Web browsing, DALL-E (images) and Code Interpreter (Data analysis). Activate only what you need to keep the answers focused.
- Add starter prompts — Can you summarise this article for me? — What are the latest developments in AI? — Write a short story about a talking cat. — Explain quantum computing in simple terms.
- Test and publish — Use the preview to test different scenarios. When you're happy, choose: Just me private, Anyone with the link (shared) or Public (visible in the GPT Store).
Best practices for effective instructions
Instructions are the heart of your GPT. The difference between a mediocre and an exceptional GPT lies in how you craft them. These are the key principles according to OpenAI official documentation:
- Be specific with the role. You are a digital marketing expert specialising in email marketing for ecommerce.
- Define the output format. Indicate if you want answers in bullet points, tables, short paragraphs, or with emojis. The GPT will follow the format you ask for.
- Use explicit steps. For complex flows, structure your instructions as: “When the user asks for X → first do Y → then ask Z”.
- Prioritise positive instructions. “Always respond with practical examples” works better than “Don't respond without examples”.
- Structure with dividers. Use Markdown headings (##) within the instructions to organise sections such as “Tone”, “Format” and “Restrictions”.
Pro tip: For knowledge files, use files .txt with Markdown headers instead of PDFs. Language models process structured text with much greater accuracy than complexly formatted documents.
Ideas for custom GPTs you can create today
If you don't know where to start, here are tried-and-tested ideas that work for different profiles:
Content writer
A GPT with your style guide, brand tone, and previous posts as examples. Write like you in seconds.
Data Analyst
Upload your reports and request automatic analyses, charts, and executive summaries with Code Interpreter.
Basic legal advisor
Upload your template contracts and policies. The GPT can review documents and flag problematic clauses.
Sales coach
Train your team using role-play call scenarios. Sales teams report that proposals are completed 40% faster.
The GPT Store: publish and discover GPTs
The GPT Store It's the marketplace where you can publish your GPTs so that any ChatGPT user can find and use them. It works similarly to an app store, with categories, search, and rankings.
In 2026, the most successful GPTs in the Store will focus on specific vertical niches (legal, health, cybersecurity, education) instead of generic writing tools. The real opportunity lies in creating specialised GPTs that solve specific industry problems.
Recommendation If you want to monetise, consider the model of B2B consultingCreate internal GPTs for companies with implementation and monthly maintenance fees, instead of relying on passive income from the Store.
Common mistakes when creating GPTs (and how to avoid them)
- Vague instructions. “Be helpful and harmless” tells the model nothing. The more specific you are, the better results you get.
- Upload complex PDFs. Documents with tables, images, and heavy formatting are misinterpreted. Convert to .txt with Markdown structure.
- Activate all capabilities. If your GPT is a writer, it doesn't need Code Interpreter. Fewer tools = more focused answers.
- Not trying enough. Before publishing, test with edge cases and off-topic questions to see how it responds.
- Ignore the starting prompts. They are the user’s first impression. Good example prompts significantly increase the use of GPT.
Frequently asked questions
Can I create a custom GPT for free?
No. To create GPTs, you need a paid plan: ChatGPT Plus ($20/month), Team or Enterprise. However, you can use GPTs created by others With the free plan if they share the link with you or you find them in the GPT Store.
How many GPTs can I create?
There is no limit. You can create as many GPTs as you need. This means you can have one for each task: writing, analysis, customer service, etc.
Do I need to know how to code to create a GPT?
No. The GPT Builder is completely visual and conversational. You describe what you want and it configures it. You only need programming knowledge if you want to add Shares (connections to external APIs), which is an advanced and optional feature.
What kind of files can I upload as knowledge?
Can you go up up to 20 files por GPT en formatos como PDF, TXT, DOCX, CSV, JSON y más. Cada archivo puede pesar hasta 512 MB. Para mejores resultados, usa archivos de texto con estructura Markdown en lugar de PDFs con formato complejo.
Can I make money with my custom GPTs?
Yes. You can publish your GPTs on the GPT Store for others to use. In 2026, the most profitable strategy is creating specialised GPTs for businesses as a consultancy service, with implementation fees and monthly maintenance. Learn more about how to make money with ChatGPT.
Can my GPTs access the internet?
Yes, if you enable the capability to Web browsing during setup. This allows your GPT to search for up-to-date information in real-time. You can also connect external APIs using the Actions function.
Your own AI assistant awaits.
Create your first custom GPT today and transform how you work.
Last updated: March 2026. Prices and features are subject to change with OpenAI updates.